Hello there.
Many thanks again to Mr. Patel for the help with manually made patches in the mold.
(I am on version 2021 Windows 10 - 64bit)
Here is another mold problem: I am doing exercise 4-mold for 2 DIFFERENT telephone bodies(Green and white). ( I have no problem with multicavity mold of the same part)
The exercise was made by some older version of the software and so, the menus and procedures are very different.
In the original text made for the exercise and in video the user “imports” the 2 files into the active session. I cannot import it. It gives me error, because the files are in native format XXX.Z3
I have difficulty open two parts simultaneously. I have to create Multicavity Project. Then I can Load Model 1 and then Model2.
But when go to Regional Analysis command, I should be able to do each model separately. But the software doesn’t want to do the Analysis on the first model I loaded. No matter what I try it goes to the second model and that is it.
I am pretty sure I am doing something bad, but cannot figure what…
I would extremely appreciate, if someone can help me with this.
I am attaching the 2 telephone models of the exercise.
The system is telling me that my files are too big, so I uploaded them to MediaFire and am attaching the link:
https://www.mediafire.com/file/uqnhdrk14uope3w/Model+4-2.Z3/file
https://www.mediafire.com/file/xawpost8o8dozk6/Model+4-1.Z3/file
Hi Resu
I never use region definition and trim command to make mould core cavity
I use old and simple method
import required part, align it at for molding direction, add shrinkage using scale command, Shift this part to required position
Now I use region analysis and complete it, now I use command Split Core/cavity instead of region definition it make may parts in two surfaces,
all patch and parting surface done
workpiece
Now I Use command Trim mold plates to core/Cavity instead of simple trim
Now I use geometry to part command and make core cavity
For Family mold if possible I add runner between parts and make it single solid
if no runner then I repeat core cavity separation for both part and export core from both file to same file and unit it, same fore cavity
Hello Resu
I recommend you to use the tools that go from the region analysis to generate the partition surface in your independent models and then in the mold project add the layout and your models already with their partition surface and now combine and continue working normally.
I have used it this way for examples and it works.
I hope I understood correctly
Hello Resu,
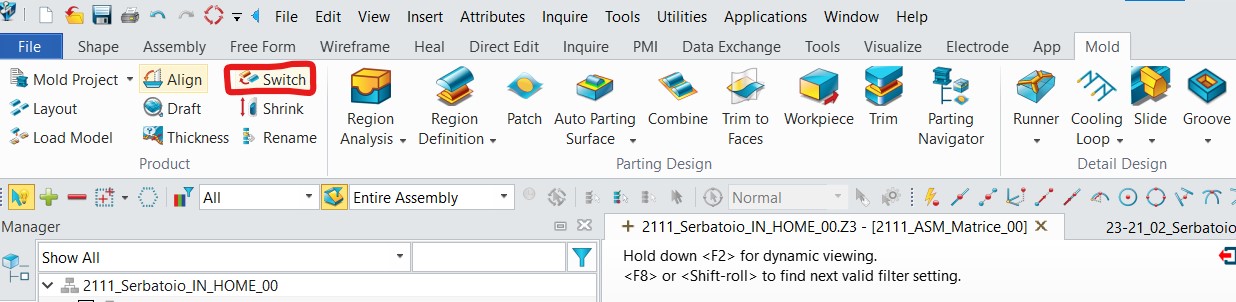
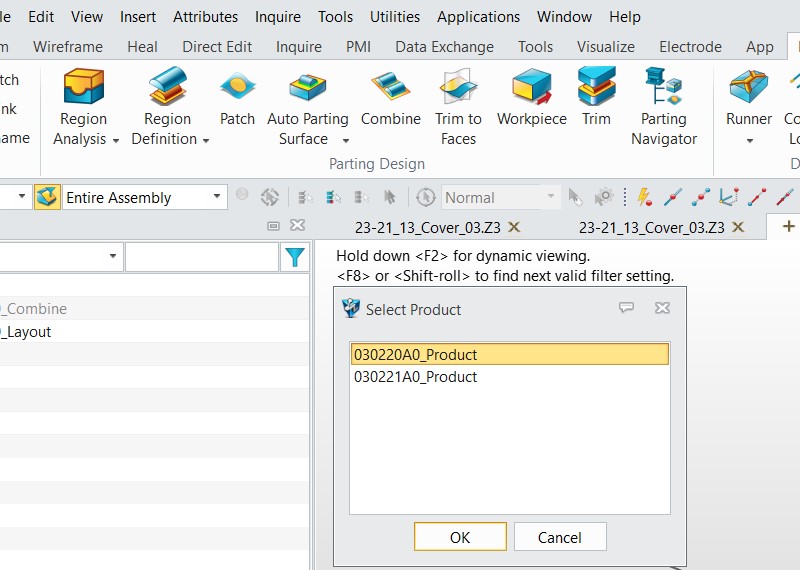
Use switch command on mold tab. Then a pop up window appears and you only have to select the other component:
Take a little practice to learn all the features, but online videos and pdf on the help menu are very interesting. I recommend the ZW3D CAD FromEntryToMaster_Mold Design
Nice to hear that there are other mould designers using ZW3D
“Many thanks” to armopi…this time!
I am on ver.2021, Widows 10 Pro, 64bit.
Sorry for not returning right away after the post was posted…I was working in the meantime on “Electrode” extension of the software and I must say not only it is very simple and logical, but also reliable…so far the part of software I like the most!..Very happy with it!
I was also trying many different scenarios with multicavity mold of the same part and I can say I have that pretty much figured out too…
So finally today I had a chance to return to this exercise: 2 telephones(Green and White) as a multicavity project of 2 different parts…
The “Switch” command works perfect…there is nothing else to say here! Finished the core and cavity insert on a first try!.
I will be playing with it some more to try different scenarios, which were shown/suggested in other posts above here
Again: thank you so much, armopi!
Just for those interested: today(1 day later from previous post) I have done the same exercise again, just to make sure I did not have just a lot of luck to finish the two plastic part mold of the two telephones the very first time…No! I was not just lucky…it works!
Here are my steps:
- load one of the telephones on screen
- go to Mold-> MOLD PROJECT and define name of the project, material, shrinkage, Multicavity type of mold, location of the file folder of the project
- Mold-> LAYOUT…create datums for the location of the parts in the mold…second datum rotated 180 degrees
4)Mold->LOAD MODEL- do that for each phone and load each one to a separate datum, as designed in step 3 - Now-as only the second model you loaded is visible -(not both of them together yet),
do the steps in 6) - do region ANALYSIS, region DEFINITION, PATCH SURFACES (including Editing of Attributes of manually made patches, where the system failed to make it automatically, auto parting surface.
7)Mold-> Mold product Ribbon-> SWITCH (switch to the other model at this point) and repeat the steps in 6)
8)Mold-> Partition Design Ribbon-> COMBINE (combine parting surfaces) - TRIM command to trim parting surfaces ( you can also execute MERGE of the trimmed parting surfaces into one at this point…)
- WORKPIECE command
- TRIM Command…The mold core and cavity insert is done!