Drawing Templates - setting up for success

Hi All,
Most of us rush into producing models only to discover when we go to make drawings that it is hard to get nice output.

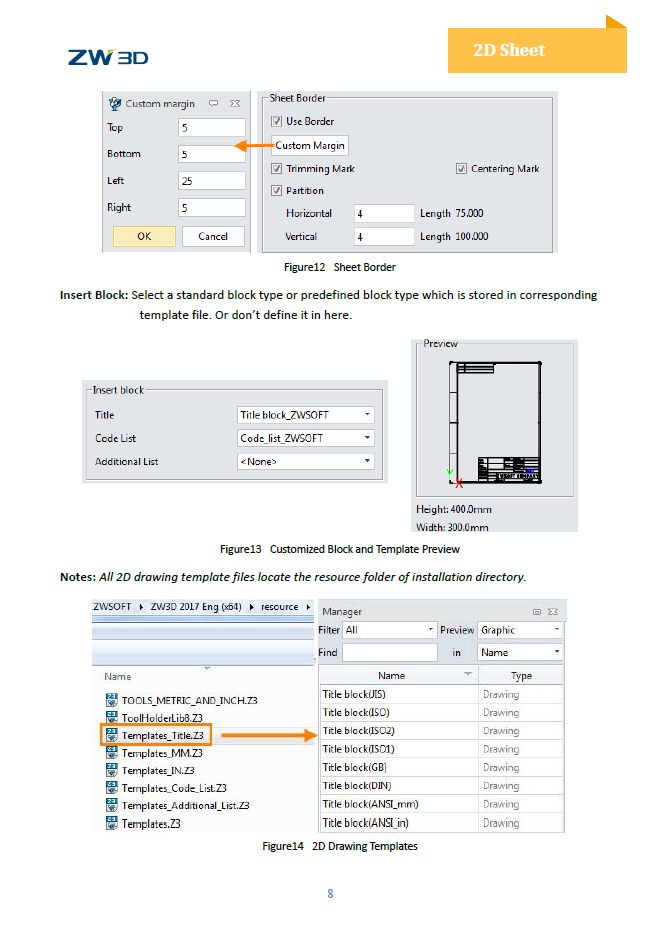
The key to success is setting up templates and styles.

In the simplest terms you need to create your own Part Template first.
Open File/Open/Templates create a New part(or use original Part Template) and and edit it’s attributes to be what ever you want. You can set up dimension colors, point type etc.
Most importantly open Part Attributes and set up your standard entries .e.g Designer/Manager etc.
Then for all part data NOT included in standard attributes, use the User Tab and create the fields you would want to see in a drawing. Everything - If it is not used that fine. The more the better - note: you cannot change order of fields.
FYI. I set up DWGName as a field with DWGName? as the data. (adding ‘Fieldname?’ is a good way of seeing if the fields are filling correctly.
Set the default material you work in the Material Tab
Save the Template file. Reboot Z3

Open the Titles_Template file in Language/en/Resource folder and choose a Title block closest to what you want.
Edit the title block in the same way as you would a sketch. Dimensions constraints etc are fine.
To insert auto-fill fields, use Text Editor and select Expression/Variable to insert fields from the attributes in you new part template. You can format the text but do not change the syntax.
Once you have a suitable Title including company graphic address disclaimers, property rights etc, SAVE.
Reboot Z3.

Now Open Templates file again and choose a Paper Size Template - e.g. A3 Horz.
RMB on the Sheet Format for that page an choose Edit.
Now you can make a custom title, border selection to make the page yours. When done,
Save As and give the Template you name.
Note: You can have multi page templates with different title blocks - you just need to make different Title blocks and set up each page as you want. Note, make sure you are on page 1 before Saving so it opens on the first page.
Save and reboot.

Now in the Files Tab of Config, point to your custom Part Template if not already the default.
Point to the custom drawing template. Exit config and save.
If you are correct, you should see you templates in action next part or drawing.

Cheers
Paul

Hi Paul,

Do you know if creating custom “sheet borders” presets is possible ? Even if it is a single permanent solution that I would have to edit when I am not satisfied anymore.
(by exemple: line style ; distance from sheet’s edges…)

Regards.

Hi Nicolas,
have you seen the Custom Layout configurator?
RMB/Edit of Sheet Format(Sheet Manager)
You can On/Off/Change aspects of the border, centre marks, etc.

You could also do you own graphic/sketch with a certain page size/orientation then save this within the template. Templates_Titles is the Resource Folder to edit if making you title contain a border, just no t sure how the auto sizing works for that.
Or you could draw the Border on a sheet and make it into a Symbol - Insert Symbol, Pick insertion point Bot LH Cnr and its there. Might even be able to put it into a locked Layer.

So if you are creative I am sure you have what ever you want.
Cheers

Yes, I was indeed specifically talking about the Custom Layout configurator.
Appart from setting the number of subdivisions, you can’t do much. You either tick and ZW3D put the thing the way it decide, or you don’t tick.

To explain myself, when I started to work on that software, as also the first user in my firm, I had to make everything. I was pretty confused with the number of files you have to deal with (bundles, tempates, title templates, hatpatterns, styles, to customize your environment and how they behave relativly to each other (by exemple, how title blocks understand where to fit when inserted on a blank sheet), and in a hassle to take the time to fully comprehend everything or to consider everything I might need later on. Since then, I am progressively enhancing each things, step by step.
So, for my templates, I started by making my title block inside a sheet template, and duplicated it to change the sizes and get templates for all my sheet format.
I progressively added sheet templates, and now I wanted to edit the title block, notably for prettier results with PDF export, and wasn’t in the mood to copy/paste it in each sheet. So I finally made a proper title block that I can easily improve and switch.
The issue is to make it match with my custom borders. I just tried the symbol border, but it just seems to complicate thing even more, adding an additionnal files to the edition chain, multiplying the number of entities you need to manage (one frame symbol for each sheet size it seems), and adding a thing you need to manually adjust (title block position).

While what I am trying to achieve is
-right clicking Sheet Layout
-click Layout attributes
-tick Custom layout
-set my sheet size
-tick “use border”
-click Title field and pikcing the title block I created
-ok
-repeat for other sheet templates
-save
-done

I was thinking of (maybe) hardcoded borders parametters somewhere. I noticed the spacing adjust to the sheet size, so there must be a rule somewhere.

BUT…
Anyway, I kept searching, looking for any files named or containing “border” in the setup directory. Amongst the various result files that I checked, there was “FromEntryToMaster_2DSheet.pdf”, and to my great surprise, look at what I stumbled upon:
1
And by curiosity, I checked the 2020 manual, and its the same.

!! What sorcery is this? !! What DLC do I need to purchase? What lootbox to unlock? ^^

I have found what somewhat fit my needs.
… / ZW3DsetupDIR / supp / DEF_SHEET & DEF_SHEET_MM & DEF_SHEET_IN (text files)

The custom sheet sizes you pick in Sheet Format Attributes are stored there. And defaut margin are specified in it for each size. You can even add line for your own settings, I just don’t know what “bound-margin” stand for.

#drawing sheet sizes defined in millimeters (maximum of 48 sizes);
#Field Meaning:;
#name, width, height, margin-top, margin-right, margin-bottom, margin-left, bound-margin-top, bound-margin-right, bound-margin-bottom, bound-margin-left;

#METRIC sizes;

A4 (V), 210.0, 297.0, 10.0, 10.0, 10.0, 10.0, 5.0, 5.0, 5.0, 25.0;
A4 (H), 297.0, 210.0, 10.0, 10.0, 10.0, 10.0, 5.0, 5.0, 5.0, 25.0;
A3 (V), 297.0, 420.0, 10.0, 10.0, 10.0, 10.0, 5.0, 5.0, 5.0, 25.0;
A3 (H), 420.0, 297.0, 10.0, 10.0, 10.0, 10.0, 5.0, 5.0, 5.0, 25.0;
A2 (V), 420.0, 594.0, 10.0, 10.0, 10.0, 10.0, 10.0, 10.0, 10.0, 25.0;

So yeah, no lines style YET, but it will do for the moment. In the end, everything can be chosen into Sheet Format Attributes , once you have set everything, and any change or evolution don’t seems to be troublesome. There is still the question of margins “on the fly” settings…

Regards.

Hi Nicholas,
Not being aware of what you want your boarder to look like is hard to imagine much more than a ‘border’.
So BOUND probably refers to the providing a a bit of extra space on the LHS of the sheet to binding in ring binder. If you try the Bound Option you’ll see.
Curiously when you are Template mode- you can see a Bound Margin option that vanishes when you choose custom.

Your process looks correct for creating Templates so the trick is figuring out the border control - perhaps a quick call to White House to see how they do border control?
Cheers

1 Like